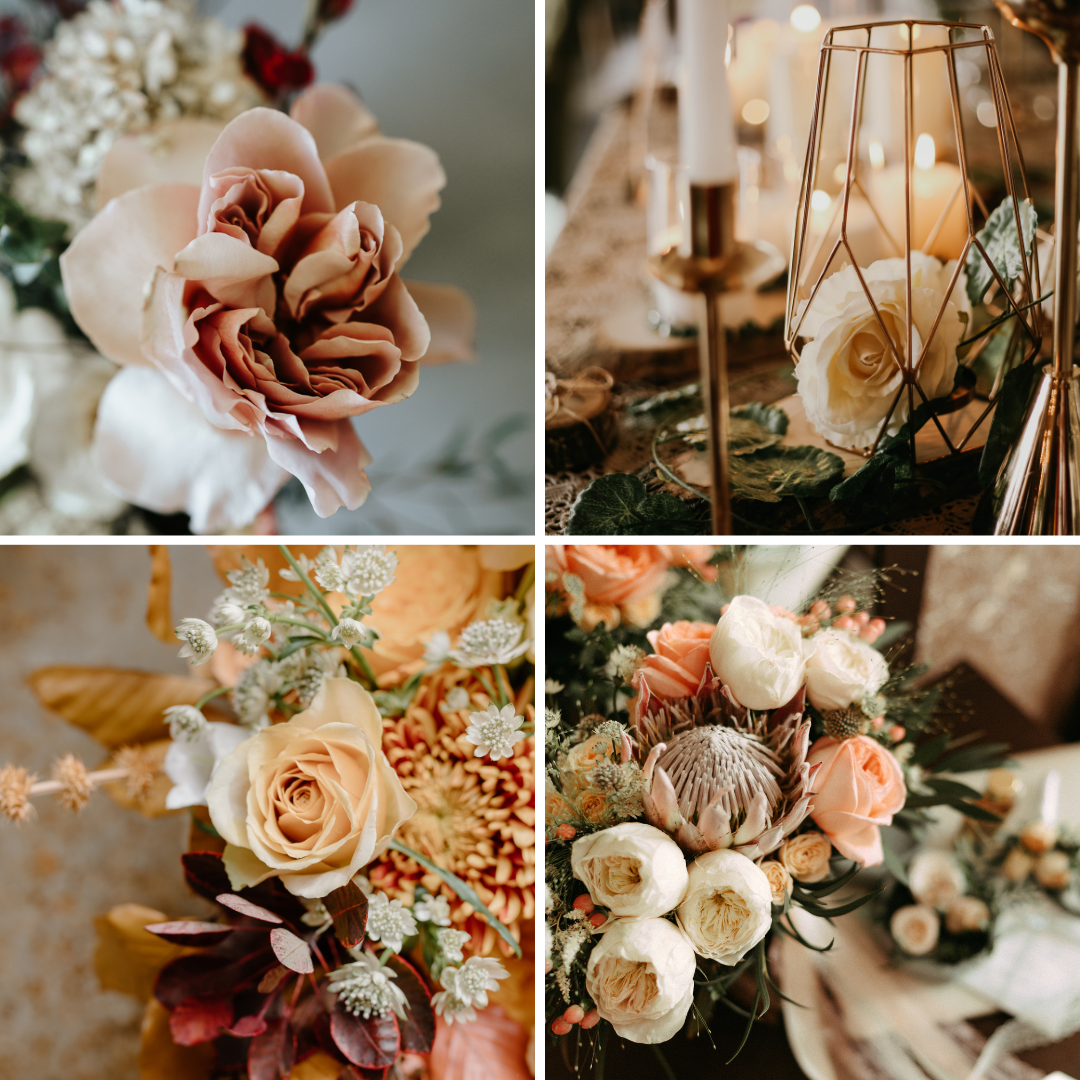
There’s something magical about walking into a room and seeing a beautifully styled centerpiece on a table. It sets the tone, draws the eye, and gives your gathering that “Wow, did you hire a florist?” vibe. But here’s the thing—creating a professional-looking centerpiece isn’t as intimidating as it might seem. With a little creativity, a few tricks, and the right tools, even a total beginner can make something gorgeous.
I’m here to walk you through the process step by step. Whether you’re hosting a dinner party, a bridal shower, or just want to elevate your table for a cozy family dinner, this guide will help you create a centerpiece that looks like a pro made it.
Step 1: Start with a Vision
Before you grab a single flower, take a moment to think about the overall vibe you want for your centerpiece. Is it casual and airy? Romantic and lush? Modern and minimalist? Your vision will guide your choices for flowers, colors, and materials.
Pro tip: Look at your space, tableware, and linens. What colors or styles will complement them? If your plates are bold, go for softer florals. If your setup is neutral, use your flowers to add a pop of color.
Step 2: Choose Your Container
The container you choose is just as important as the flowers themselves. A rustic wooden box, an elegant glass vase, or even a repurposed pitcher can completely change the feel of your arrangement.
For beginners, I recommend something with a wider mouth. It’s easier to work with and allows you to play around with flower placement.
Kaye’s Tip: Shop your house! Mason jars, bowls, or vintage cans can all be turned into charming containers.
Step 3: Gather Your Flowers and Foliage
Now comes the fun part—choosing your flowers! Start with these three key elements:
- Focal Flowers: These are the stars of your arrangement (think roses, peonies, or sunflowers). Choose 2-3 types for variety.
- Secondary Blooms: These are smaller flowers that complement your focal blooms, like spray roses, ranunculus, or daisies.
- Greenery: Don’t underestimate the power of lush greenery to tie everything together! Eucalyptus, ferns, or even clippings from your backyard work beautifully.
Pro tip: Choose flowers in varying heights and textures. This adds depth and makes your arrangement look more dynamic.
Step 4: Prep Your Materials
Before arranging, give your flowers a little TLC:
- Trim the stems at an angle for better water absorption.
- Remove any leaves that will fall below the waterline in your vase.
- Have scissors, floral tape, and wire handy—you’ll thank me later!
Kaye’s Trick: Use floral foam if you want your arrangement to stay perfectly in place. You can find it at any craft store. Soak it in water before use and cut it to fit your container.
Step 5: Start Arranging
Here’s where the magic happens. Follow this step-by-step method:
- Add Greenery First: Line your container with greenery to create a “base.” Think of it as the frame for your flowers. Let some foliage drape over the edges for a natural look.
- Place Your Focal Flowers: Add your largest, showiest blooms next. Space them out evenly and let them shine.
- Fill in with Secondary Blooms: Use smaller flowers to fill gaps and add color. Don’t be afraid to cluster blooms for impact.
- Layer and Adjust: Step back often to look at your arrangement from different angles. Add height with a few tall stems and balance with lower blooms.
Pro tip: Odd numbers (3, 5, 7) work best when grouping flowers. It looks more organic and less “perfect.”
Step 6: Final Touches
Now that your arrangement is mostly complete, it’s time for the details.
- Add Texture: Mix in unexpected elements like berries, branches, or feathers.
- Finish with Flair: Use ribbon around the vase or sprinkle petals on the table around your centerpiece for extra charm.
Step 7: Caring for Your Masterpiece
To keep your arrangement fresh for as long as possible:
- Change the water every 1-2 days.
- Keep it out of direct sunlight and away from heat sources.
- Re-trim the stems every couple of days to keep them drinking up water.
Bonus Tips for Success
- Practice makes perfect: Don’t be discouraged if your first attempt isn’t flawless. Floral arranging is an art, and like any art, it takes time to master.
- Be creative: Use seasonal flowers or experiment with color combinations you wouldn’t normally try.
There you have it! With these steps, you’ll be whipping up professional-looking centerpieces that will make every guest ask, “Who’s your florist?” And you can smile and say, “Oh, just me!”
Now go ahead—grab those flowers, pour yourself a glass of wine, and get arranging! I can’t wait to hear how your creations turn out.

